Free Pumpkin Beanie Pattern: Easy Step-by-Step Tutorial
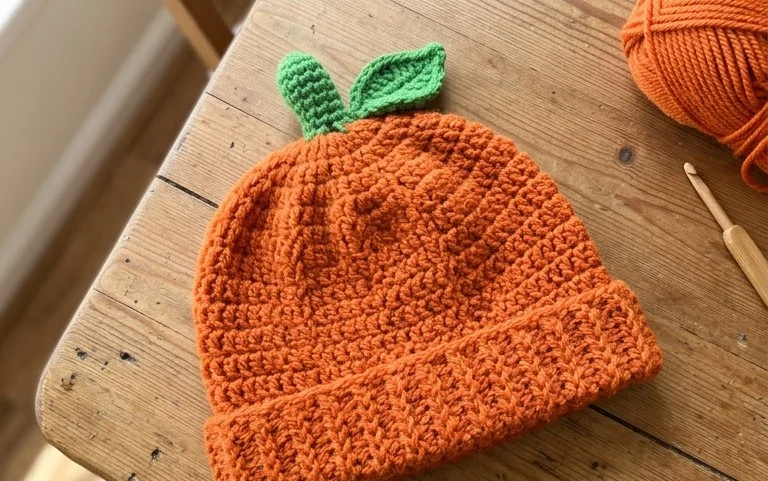
This tiny, squishy headpiece fits perfectly in your palm, mimicking the charming rounded shape of a classic harvest vegetable. Its dense, uniform stitches create a firm structure that holds its shape well, making it a great addition to your desk or a cute accessory for a small doll. You will work in a continuous spiral, using simple increases to grow the body before narrowing it down for the stem. This satisfying project helps you practice basic shaping techniques while producing a finished item in just a couple of hours. It is an excellent choice for using up small yarn scraps effectively.
Why This Project Is Worth Making
This beginner-friendly project works up quickly, making it a reliable choice for last-minute gifts or stash-busting. Because it relies on simple single crochet stitches worked in the round, the repetitive motion becomes meditative and requires little mental strain once you establish the rhythm. You can easily complete this item in a single evening while watching a movie. Its compact size means you only need a small amount of yarn, allowing you to use up those leftover balls sitting in your craft bin without needing to purchase new materials.
I managed to finish this pattern in under two hours. The instructions were easy to follow and the finished result looks exactly like the photos.
— Sarah, hobbyist crocheter
Pattern Overview & Skill Level
- Skill Level: Beginner
- Approximate Time: 1.5 to 2 hours
- Construction: Amigurumi style, worked in continuous rounds using a magic ring for the base, followed by increases and decreases to shape the body, then stuffed and closed.
- Finished Dimensions: 4 inches tall by 3 inches wide.
Materials & Supplies Needed
- Yarn: Worsted weight (#4), 100% acrylic or cotton, approximately 40 yards.
- Hook Size: 4.0 mm (G-6).
- Notions: Tapestry needle for weaving ends, stitch markers to track round starts, polyester fiberfill stuffing, and a pair of 8mm plastic safety eyes.
- Yarn Substitutions: You can use DK weight yarn with a 3.5 mm hook to create a smaller, more delicate version. Using bulky yarn will result in a larger, squishier toy but will require approximately double the yardage.
Stitch Guide & Abbreviations (US Terms)
- MR: Magic ring (a way to start a round by crocheting over a loop).
- ch: Chain stitch.
- sc: Single crochet (insert hook, yarn over, pull up loop, yarn over, pull through both loops on hook).
- inc: Increase (work 2 sc into the same stitch).
- dec: Decrease (invisible decrease method: insert hook into the front loop of the next two stitches, yarn over, pull through, yarn over, pull through both loops).
- st/sts: Stitch/stitches.
- sl st: Slip stitch.
Step-by-Step Pattern Instructions
Body and Head
- Rnd 1: Start 6 sc in a magic ring (6 sts).
- Rnd 2: Work 2 sc in each st around (12 sts).
- Rnd 3: [1 sc, inc] repeat 6 times (18 sts).
- Rnd 4: [2 sc, inc] repeat 6 times (24 sts).
- Rnd 5-10: Work 1 sc in each st around (24 sts).
- Rnd 11: [2 sc, dec] repeat 6 times (18 sts). Attach safety eyes between rows 7 and 8, spaced 4 stitches apart.
- Rnd 12: [1 sc, dec] repeat 6 times (12 sts). Stuff the body firmly with fiberfill.
- Rnd 13: Decrease 6 times (6 sts). Fasten off, leaving a 6-inch tail for sewing the hole closed.
Assembly and Finishing
Thread your tapestry needle with the remaining tail. Weave the yarn through the front loops of the remaining 6 stitches and pull tight to cinch the opening shut. Secure the yarn with a knot and bury the end inside the body. Use a small amount of black embroidery floss to stitch a small “V” shape between the eyes for a mouth if desired.
Care & Washing Instructions
- Hand wash in cool water using a mild detergent to prevent the fiberfill from clumping or shifting.
- Lay the item flat on a towel in a shaded area to air dry completely.
- Gently squeeze and reshape the stuffing with your hands once the item is dry to ensure it maintains its intended form.
Pro Tips & Common Mistakes to Avoid
Maintain consistent tension throughout your project to prevent holes from forming in the fabric where the stuffing might show through. Always use a stitch marker at the beginning of every round because continuous rounds make it difficult to identify where each one ends. If you make a mistake and need to frog your work, remove the hook and pull gently from the working yarn to unravel the stitches one by one. To adjust the final size, add or subtract rounds in the middle of the body section; keep in mind that adding height will increase the amount of fiberfill needed.
Frequently Asked Questions
Can I use a larger hook than recommended?
Using a larger hook will make the stitches loose, allowing the fiberfill to poke through the gaps. It is best to stick to the suggested hook size or smaller to achieve a tight, clean look.
Is this project safe for small children?
Safety eyes can be a choking hazard for infants. If you are making this for a baby, embroider the eyes using black yarn instead of using plastic safety components.
Can I sell the items I make from this pattern?
You are welcome to sell finished items made from this pattern, provided you credit the designer and use your own photographs for the product listing.
What if I run out of yarn halfway through?
Since this project uses very little yarn, you can easily transition to a new color to create a striped effect. Simply join the new yarn during the final pull-through of the last stitch of the previous color.
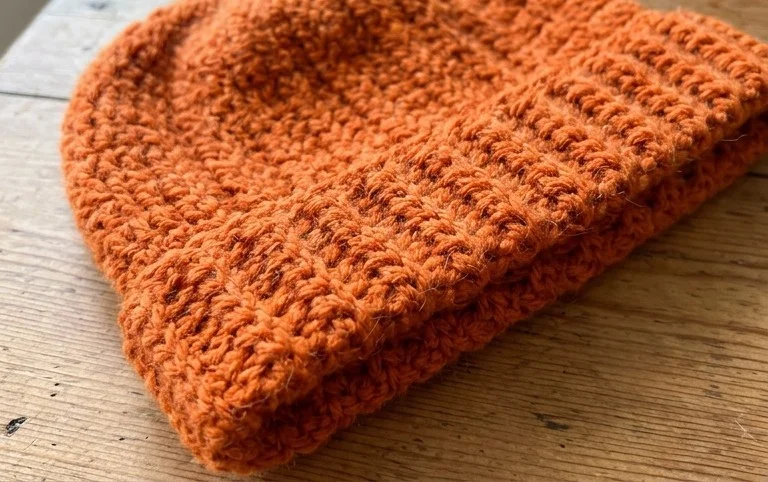
Your finished miniature hat makes a charming addition to any autumn shelf display or a sweet handmade gift for a friend. You might consider using a burnt orange wool for a more rustic look or perhaps working with a variegated green thread to create a unique, earthy stem effect. If you have finished yours, posting a photo helps others see how this design turns out in different yarn weights. Feel free to browse our other free craft patterns on the blog to find more fun items to crochet next.