Classic Granny Square: Free Beginner Crochet Pattern
Cotton yarn worked into a dense, repetitive cluster creates a squishy and warm square that feels substantial in your hands. This project fits those long evenings on the sofa when you want to keep your fingers moving without much mental effort. It is a reliable choice for beginners building muscle memory or for makers wanting to use up small scraps of wool left over from larger projects. You will learn the classic three-double-crochet cluster technique used to expand the shape from a tiny center point outward. These squares grow into sturdy building blocks for blankets, bags, or decorative cushions.
Why You’ll Love This Pattern
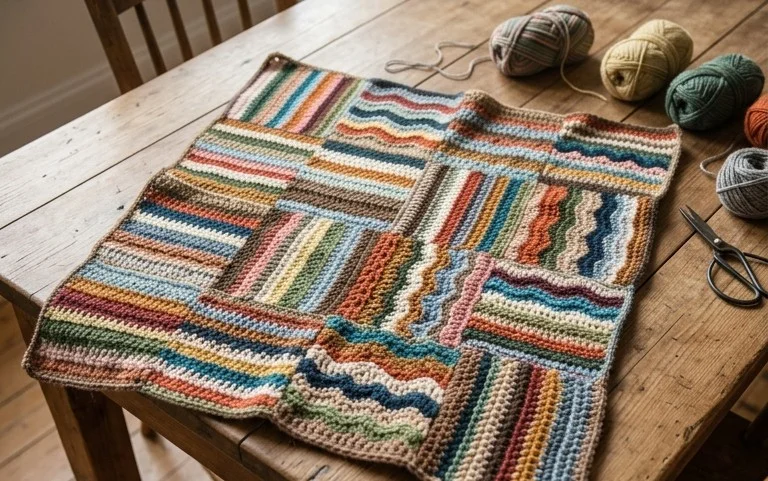
The Classic Crochet Granny Square is the foundation of countless textile projects, from cozy patchwork blankets to structural tote bags. This pattern relies on a repetitive three-double-crochet cluster structure that is meditative to work on while watching television or commuting. Because the square grows outward from the center, you can stop at any time to create a coaster, or continue for many rounds to produce a full-sized afghan square. It works exceptionally well for clearing out leftover yarn ends, as each round can be finished in a different color to create a scrappy, vibrant aesthetic.
I learned to crochet using this exact square pattern. It is very forgiving if you make a mistake, and I managed to finish my first ten squares in a single weekend without feeling frustrated.
— Sarah, beginner crocheter
Pattern Overview & Skill Level
- Skill Level: Beginner
- Approximate Time: 30 to 45 minutes per square
- Construction: Worked in joined rounds, turning after each round to keep the square shape uniform
- Finished Dimensions: Approximately 6 inches by 6 inches using medium weight yarn and a 5.0 mm hook
Materials & Supplies Needed
- Yarn: Worsted weight (#4), 100% cotton or acrylic blend, approximately 20 yards per square.
- Hook Size: 5.0 mm (US H-8).
- Notions: Yarn needle for weaving in ends, sharp scissors.
- Yarn Substitutions: You can use DK weight yarn for a smaller, tighter square, or bulky weight yarn for a larger square. Adjusting your yarn weight will change the final dimensions, so ensure your hook size corresponds to the yarn label for a clean stitch definition.
Stitch Guide & Abbreviations (US Terms)
- ch: Chain
- st: Stitch
- sl st: Slip stitch
- dc: Double crochet
- dc-cluster: 3 double crochet stitches worked into the same space
- sp: Space
- rnd: Round
Step-by-Step Pattern Instructions
Granny Square Body
- Rnd 1: Start with a magic ring. Ch 3 (counts as first dc), work 2 dc into the ring. Ch 2, 3 dc into the ring, ch 2, 3 dc into the ring, ch 2, 3 dc into the ring, ch 2. Join with a sl st to the top of the beginning ch-3. (12 dc, 4 ch-2 spaces)
- Rnd 2: Sl st into the next corner space. Ch 3, 2 dc, ch 2, 3 dc in the same corner space. Ch 1, skip 3 dc, (3 dc, ch 2, 3 dc) in the next corner space. Repeat from * to * two more times. Ch 1, join with a sl st to the top of the beginning ch-3. (24 dc, 4 ch-1 spaces, 4 ch-2 spaces)
- Rnd 3: Sl st into the next corner space. Ch 3, 2 dc, ch 2, 3 dc in the corner space. Ch 1, 3 dc in the ch-1 space, ch 1, (3 dc, ch 2, 3 dc) in the next corner space. Repeat from * to * two more times. Ch 1, 3 dc in the final ch-1 space, ch 1, join with a sl st to the top of the beginning ch-3. (36 dc, 8 ch-1 spaces, 4 ch-2 spaces)
- Rnd 4: Sl st into the corner. Ch 3, 2 dc, ch 2, 3 dc in the corner space. Ch 1, 3 dc in each ch-1 space across to the next corner, ch 1, (3 dc, ch 2, 3 dc) in corner. Repeat from * to * around. Join with a sl st to the top of the beginning ch-3. (48 dc, 12 ch-1 spaces, 4 ch-2 spaces)
Finishing
Fasten off your yarn, leaving a 6-inch tail. Use your yarn needle to weave the tail through the back loops of the final round to secure it. If you plan to join these squares later, leave a longer tail on one side to act as your sewing thread.
Care & Washing Instructions
- Machine wash on a gentle cycle in cool water (30°C/86°F).
- Lay the square flat on a towel to air dry, ensuring the edges are squared off while damp.
- Reshape the square by gently pulling on the corners if the fabric curls after washing.
Pro Tips & Common Mistakes to Avoid
Check your tension regularly by laying the square on a flat surface; if it ripples, your tension is too loose, and you should switch to a smaller hook. Always place a stitch marker in the first chain of your starting ch-3 to help you identify where to join your round at the end. Weave your yarn tails in multiple directions to prevent them from slipping out during the washing process. If you want a larger square, simply repeat the pattern of working 3 dc into every ch-1 space and 3 dc, ch 2, 3 dc into every corner space until you reach your desired size, noting that each additional round will require approximately 15% more yarn.
Frequently Asked Questions
Can I use a different hook size than recommended?
Yes, you can use a smaller hook for a denser fabric or a larger hook for a softer, drapier square. Keep in mind that changing your hook size will change the final size of the square even if you use the same amount of rounds.
Is this pattern suitable for complete beginners?
This is an ideal starter project because it only uses double crochet stitches and chain stitches. The repeat is easy to memorize, which helps beginners gain confidence with their stitch counting.
How do I join these squares together?
You can join finished squares using a whip stitch with a yarn needle or by using a slip stitch join along the edges. Both methods provide a sturdy seam for blankets or garments.
Can I sell items made from this pattern?
You are welcome to sell finished items created from this pattern. We suggest including a link back to this tutorial if you choose to list your work online.
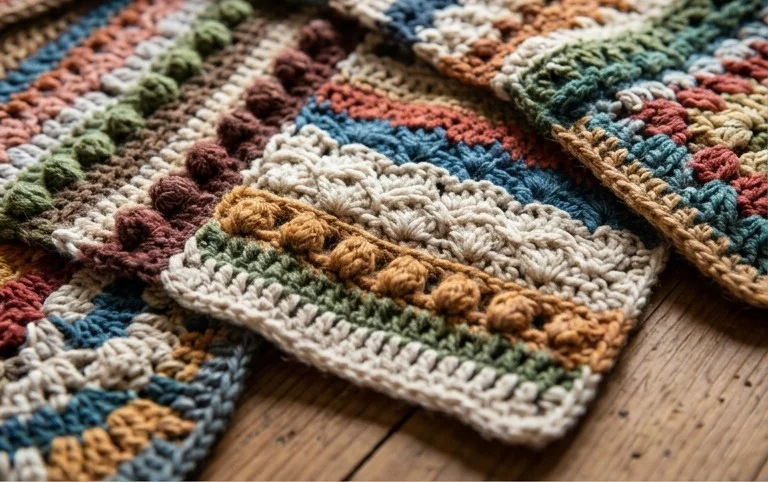
Your finished square now holds a soft, uniform tension that reflects the time you spent turning your work after every round. You can experiment with using a variegated yarn for the next batch to see how the colors shift unexpectedly across the double crochet clusters. Posting a photo of your finished work allows other makers to see how your specific color choices came together. Please browse the rest of the blog to find more patterns that use basic stitches to create beautiful items for your home and personal collection.