How to Crochet a Basic Hat: Free Beginner Pattern
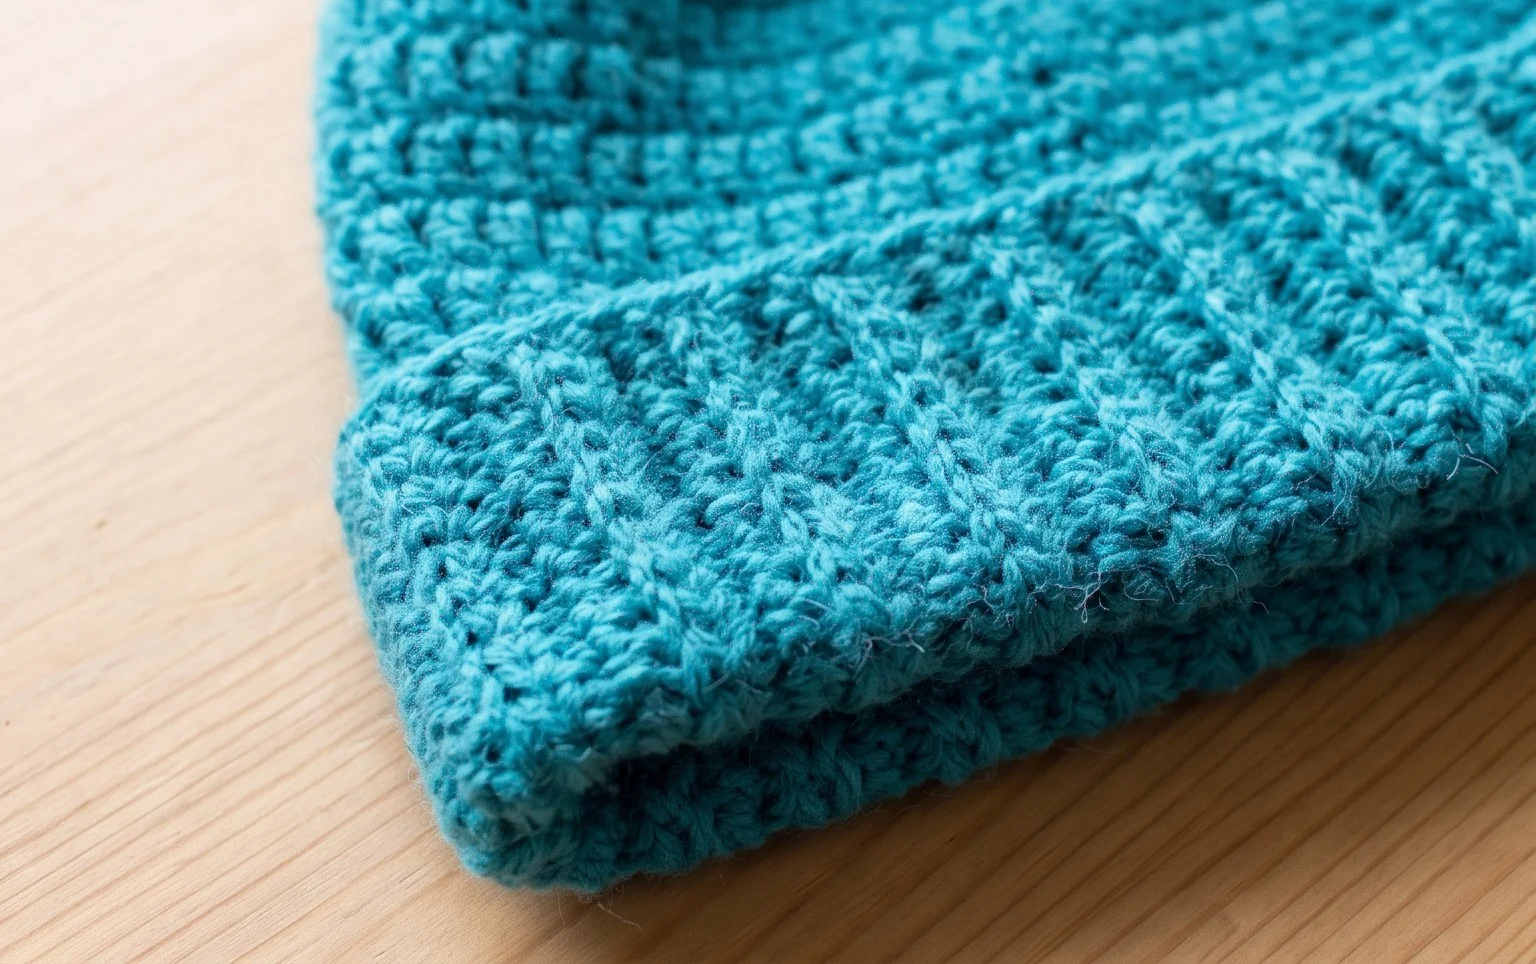
This hat feels like a soft, squishy hug for your head during cold morning commutes or windy walks in the park. Working with half double crochets in the back loops creates a distinct, stretchy ribbing that mimics store-bought knitwear without needing complicated circular needles. It is a rewarding project for anyone starting their maker journey, as you only need to master one flat rectangle technique to shape the entire accessory. You will gain confidence in your tension and stitch consistency while creating a gift that feels personal and professional. Grab your favorite worsted yarn and prepare to finish this staple piece today.
Why You Will Love This Pattern
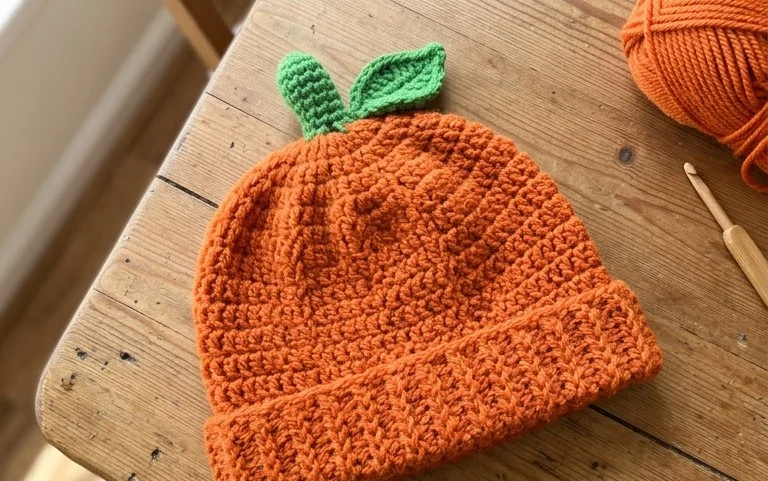
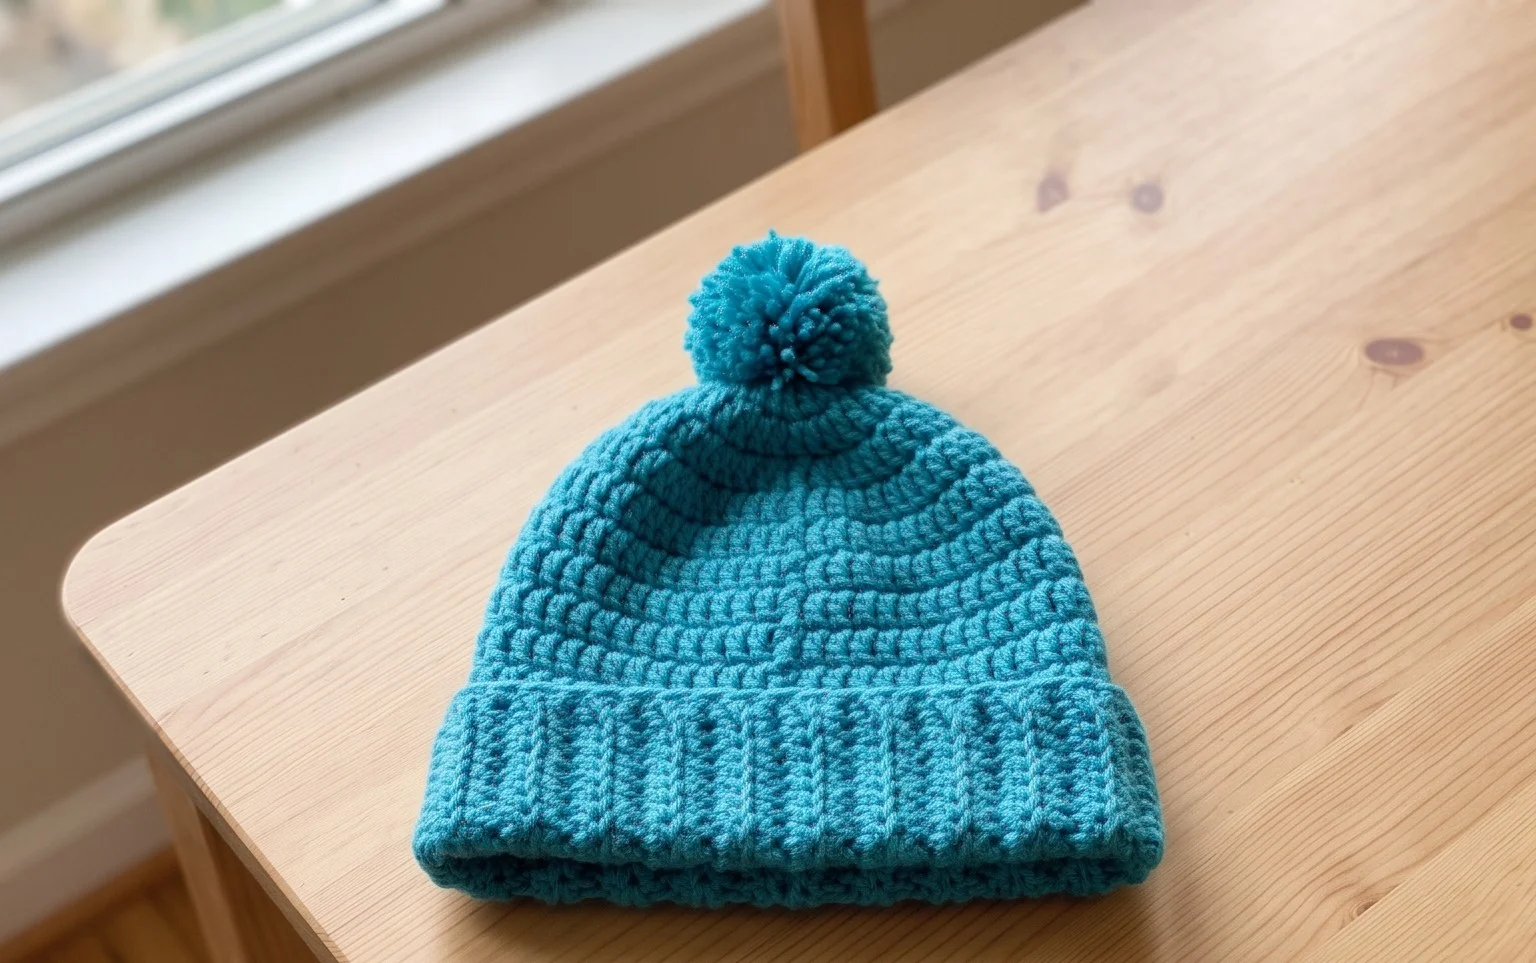
This beginner-friendly project creates a classic crochet beanie that uses a simple, repetitive stitch pattern to achieve a professional, ribbed texture. Because it relies on basic foundation chains and half double crochet stitches worked in the back loops, you can finish this hat in a single afternoon. It is an ideal use for a single skein of medium-weight yarn, making it an affordable gift option for friends or family members. The design is unisex and fits most adult head sizes due to the natural stretch provided by the ribbing.
I managed to finish this hat in just a few hours. The pattern is very easy to follow even if you are new to working with back loops, and it fits perfectly.
— Sarah, hobbyist crafter
Pattern Overview & Skill Level
- Skill Level: Beginner
- Approximate Time: 3 to 4 hours
- Construction: Worked as a flat rectangle, then seamed to form a tube and gathered at the top
- Finished Dimensions & Sizing: 18 inches circumference (unstretched) by 9 inches tall
Materials & Supplies Needed
- Yarn: Worsted weight (#4), wool or acrylic blend, approximately 200 yards
- Hook Size: 5.0 mm (H-8)
- Notions: Tapestry needle for seaming, scissors, measuring tape
- Safe Yarn Substitutions: Any soft worsted-weight yarn will work. A wool-blend provides better warmth and elasticity, while 100% acrylic is hypoallergenic and machine-washable. Be aware that substituting with a bulky yarn will increase the finished size significantly.
Stitch Guide & Abbreviations (US Terms)
- ch: Chain
- hdc: Half double crochet
- BLO: Back loop only (insert hook into only the back loop of the stitch instead of both loops)
- sl st: Slip stitch
- st/sts: Stitch/stitches
Step-by-Step Pattern Instructions
Hat Body
The hat is worked in rows to create a ribbed rectangle. You will crochet across the width, turn, and repeat until the piece is long enough to wrap around your head comfortably.
- Row 1: Ch 41. Hdc in 2nd ch from hook and in each ch across. Turn. (40 sts)
- Row 2: Ch 1, hdc in BLO of each st across. Turn. (40 sts)
- Rows 3-60: Repeat Row 2 until the piece measures approximately 18 inches when laid flat without stretching. Do not fasten off.
Assembly and Finishing
- Fold the rectangle in half so the short ends meet.
- Sl st through both the back loop of the final row and the starting foundation chain to join the edges, creating a tube.
- Fasten off, leaving a 12-inch tail of yarn.
- Thread the tail onto your tapestry needle. Weave the yarn in and out of the stitches along one of the open ends of the tube.
- Pull the yarn tight to cinch the hole closed. Secure with a knot on the inside.
- Weave in all remaining loose ends securely.
Care & Washing Instructions
- Hand wash in cool water using a gentle wool detergent to preserve the fibers.
- Lay the hat flat on a clean towel to air dry, reshaping it while damp to ensure the ribbing remains straight.
- Avoid using a tumble dryer, as heat can shrink natural fibers and cause the stitches to lose their elasticity.
Pro Tips & Common Mistakes to Avoid
- Keep your tension consistent throughout the rows to prevent the rectangle from widening or narrowing unintentionally.
- Use a stitch marker on the first stitch of every row if you find yourself accidentally missing stitches at the ends, which causes the fabric to slant.
- Weave your ends into the inside seams of the hat; this hides the tail and prevents it from poking through to the right side of the finished project.
- To adjust the size, simply add or subtract rows. Each additional 4 rows will add approximately 1.25 inches to the total circumference of the hat.
Frequently Asked Questions
Can I use a different yarn weight for this pattern?
While you can use different weights, it will significantly change the size and drape of the hat. If you use a lighter yarn, you will need to increase the number of starting chains to maintain the desired height and work more rows for the circumference.
Is this pattern suitable for someone who has never held a crochet hook?
Yes, this is an excellent starter project. It only requires the ability to chain and the half double crochet stitch. Mastering the back loop technique provides a great foundation for more complex patterns.
Can I sell the hats I make from this pattern?
You are welcome to sell finished items made from this pattern, provided you credit the designer. Please note that you cannot redistribute the written instructions themselves or use the provided photos for your sales listings.
Why does my hat look smaller than the dimensions provided?
Tension issues are the most common cause. If your stitches are too tight, the fabric will lose its natural stretch. Try going up one half-size on your hook if you notice your foundation chain is much smaller than 18 inches.
Your new beanie is ready to wear, providing a cozy layer that adapts perfectly to any head size through its ribbed construction. Experiment with a bold variegated wool or a soft neutral cotton for your next version to match different seasonal wardrobes. Sharing a photo of your finished work helps inspire others to pick up their hooks and start their own projects. Visit our main archive for more free pattern ideas and tutorials to build your skills further. We enjoy seeing how your unique color choices turn out, so please share your final photos with the community online.