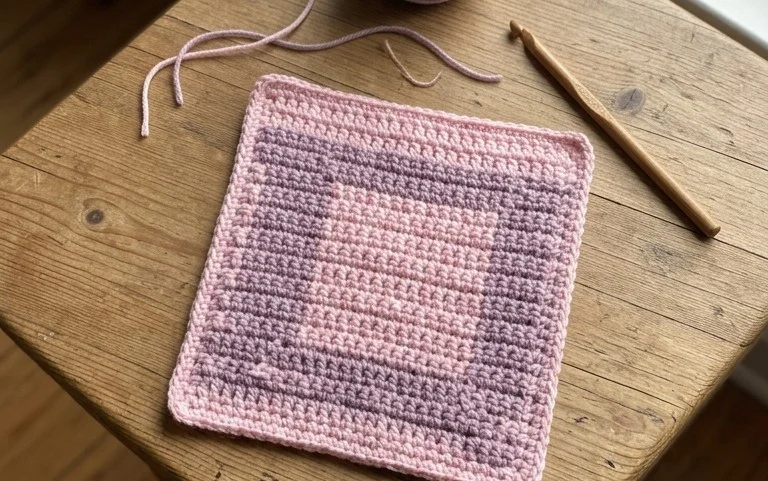
Easy Granny Square Crochet Pattern: Step-by-Step Guide

A stack of freshly crocheted squares feels soft and structured, offering a density that makes them hold their shape beautifully over years of use. This classic project appeals to those who enjoy rhythmic handwork, as the simple repetition of stitches allows you to build confidence while creating something useful for your home. You will learn the mechanics of working in the round and how to maintain sharp, clean corners that do not pull inward. Whether you are building a full blanket or just practicing your tension, this project provides a reliable, portable foundation for your hobby.
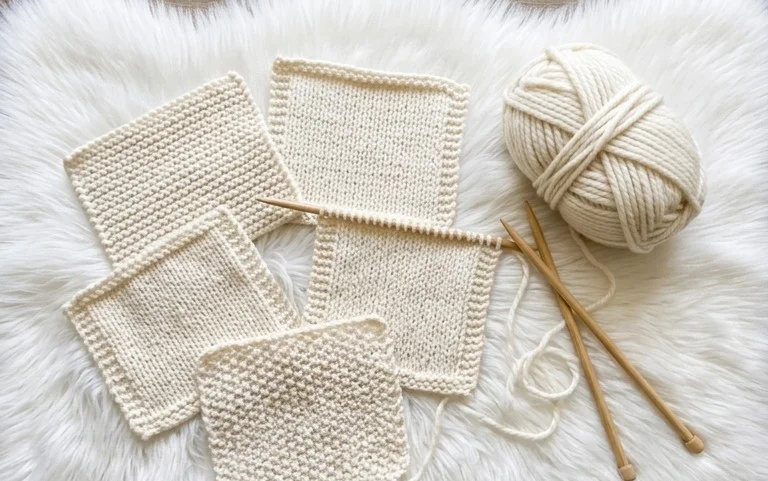
KNITTING COURSE—>” class=”wp-image” /></p><div class='hb-ad-inpage'><div class='hb-ad-inner'><div class='hbagency_cls hbagency_space_346993' id='hbagency_space_346993_1'></div></div></div>
<h2>Why You’ll Love This Pattern</h2>
<p>The Classic Crochet Granny Square is the foundational building block for countless textile projects. This pattern produces a traditional, symmetrical square that works up quickly using simple double crochet clusters and chain spaces. Because it relies on a repetitive, meditative stitch pattern, it is the ideal project for practicing consistent tension while catching up on a podcast or audiobook. You will find that the construction is highly portable, allowing you to complete individual squares during short commutes or while waiting for appointments. Once you master the rhythm of the corners and the side clusters, you can customize the size of your final piece simply by adding more rounds.</p><div class='hb-ad-inarticle'><div class='hb-ad-inner'><div class='hbagency_cls' id='hbagency_space_346995'></div></div></div>
<blockquote>
<p>I finally learned how to make a proper square without the corners curling up, and this pattern made the transition between rounds so easy to understand.</p><div class='hb-ad-inpage'><div class='hb-ad-inner'><div class='hbagency_cls hbagency_space_346993' id='hbagency_space_346993_2'></div></div></div>
<p><cite>— Sarah, beginner crocheter</cite></p></blockquote>
<h2>Pattern Overview & Skill Level</h2>
<ul>
<li>Skill Level: Beginner</li>
<li>Approximate Time: 30 to 45 minutes per square</li>
<li>Construction: Worked in joined rounds, starting from the center outward</li>
<li>Finished Dimensions: Approximately 5 inches by 5 inches using worsted weight yarn</li>
</ul>
<h2>Materials & Supplies Needed</h2>
<ul>
<li>Yarn: Worsted weight (#4), acrylic or wool blend, approximately 20 yards per square.</li>
<li>Hook Size: 5.0 mm (US H-8).</li>
<li>Notions: Yarn needle for weaving ends, sharp scissors.</li>
<li>Safe yarn substitutions: You can use DK weight yarn for a smaller, delicate square (will require a 4.0 mm hook) or bulky weight yarn for a larger, thick square (will require a 6.0 mm hook).</li>
</ul>
<h2>Stitch Guide & Abbreviations (US Terms)</h2>
<ul>
<li>ch = chain</li>
<li>st = stitch</li>
<li>sl st = slip stitch</li>
<li>dc = double crochet</li>
<li>dc-cluster = 3 double crochet stitches worked into the same space</li>
<li>sp = space</li>
</ul>
<h2>Step-by-Step Pattern Instructions</h2>
<h3>Granny Square Base</h3>
<ol>
<li><strong>Rnd 1:</strong> Start with a magic ring. Ch 3 (counts as first dc), work 2 dc into the ring, ch 2. [3 dc into ring, ch 2] 3 times. Join with a sl st to the top of the beginning ch 3. (12 dc, 4 ch-2 spaces)</li>
<li><strong>Rnd 2:</strong> Sl st into the next dc and into the corner ch-2 sp. Ch 3, 2 dc in same sp, ch 2, 3 dc in same sp. <em>Ch 1, skip 3 dc, (3 dc, ch 2, 3 dc) in next ch-2 sp.</em> Repeat from * to * two more times. Ch 1, join with a sl st to the top of the beginning ch 3. (24 dc, 4 ch-2 spaces, 4 ch-1 spaces)</li>
<li><strong>Rnd 3:</strong> Sl st into next 2 dc and into the corner ch-2 sp. Ch 3, 2 dc in same sp, ch 2, 3 dc in same sp. <em>Ch 1, 3 dc in next ch-1 sp, ch 1, (3 dc, ch 2, 3 dc) in next corner ch-2 sp.</em> Repeat from * to * two more times. Ch 1, 3 dc in next ch-1 sp, ch 1, join with a sl st to the top of the beginning ch 3. (36 dc, 4 ch-2 spaces, 8 ch-1 spaces)</li>
<li><strong>Rnd 4:</strong> Sl st into next 2 dc and into the corner ch-2 sp. Ch 3, 2 dc in same sp, ch 2, 3 dc in same sp. <em>Ch 1, (3 dc in next ch-1 sp, ch 1) across to corner, (3 dc, ch 2, 3 dc) in corner.</em> Repeat from * to * three times. Ch 1, join with a sl st to the top of the beginning ch 3. (48 dc, 4 ch-2 spaces, 12 ch-1 spaces)</li>
<li><strong>Finishing:</strong> Fasten off, leaving a 6-inch tail. Use the yarn needle to weave the tail through the back loops of the stitches to secure it.</li>
</ol>
<h2>Care & Washing Instructions</h2>
<ul>
<li>Hand wash your finished squares in cool water using a gentle detergent specifically formulated for wool or synthetic fibers.</li>
<li>Lay the squares flat on a towel to air dry, ensuring they are positioned in a perfect square shape to maintain their dimensions.</li>
<li>If the corners look uneven, block the pieces by pinning them to a foam mat while damp and allowing them to dry completely.</li>
</ul>
<h2>Pro Tips & Common Mistakes to Avoid</h2>
<ul>
<li>Focus on keeping your tension loose, especially on the chains between clusters; tight chains will cause your square to cup or buckle instead of lying flat.</li>
<li>Place a stitch marker in the first stitch of every round to easily identify where to join, as the starting chain can be difficult to locate once you have finished the round.</li>
<li>Weave your ends in by threading the tail through the base of the stitches on the wrong side of the work, moving in two different directions to prevent the yarn from pulling loose over time.</li>
<li>Increase the final size of your square by repeating Round 4 as many times as desired; note that each additional round will consume approximately 15 percent more yarn than the previous round.</li>
</ul>
<h2>Frequently Asked Questions</h2>
<details>
<summary>Can I use different yarn weights in the same project?</summary>
<p>Yes, but be aware that changing weights will result in squares of different sizes. To combine them successfully, you may need to add or subtract rounds from the smaller squares to match the dimensions of the larger ones.</p><div class='hb-ad-inpage'><div class='hb-ad-inner'><div class='hbagency_cls hbagency_space_346993' id='hbagency_space_346993_3'></div></div></div>
</details>
<details>
<summary>What if my square has wavy sides?</summary>
<p>Wavy sides usually indicate that you are adding too many stitches or chains between clusters. Check your pattern to ensure you are only chaining 1 between side clusters and 2 in the corners.</p>
</details>
<details>
<summary>Is this pattern suitable for complete beginners?</summary>
<p>Absolutely, as it only requires knowledge of the chain stitch, slip stitch, and double crochet. It is one of the most effective ways to learn how to manage working into spaces rather than individual stitches.</p><div class='hb-ad-inpage'><div class='hb-ad-inner'><div class='hbagency_cls hbagency_space_346993' id='hbagency_space_346993_4'></div></div></div>
</details>
<details>
<summary>May I sell items made from this pattern?</summary>
<p>You are welcome to sell finished products created with this pattern. Please credit the design to this tutorial and use your own original photographs for your listings.</p>
</details>
<p><img decoding= { "@context": "https://schema.org", "@type": "HowTo", "name": "KNITTING COURSE—>", "description": "A comprehensive guide featuring 12 classic, beginner-friendly knitting stitch patterns to help you practice and build your skills. Includes clear instructions for textures ranging from simple Garter stitch to complex Basketweave.", "image": "https://madebycrochet.com/wp-content/uploads/2026/10/flow_288182_93466b20_top.webp" }
Similar Posts

Leave a Reply

Your email address will not be published. Required fields are marked *